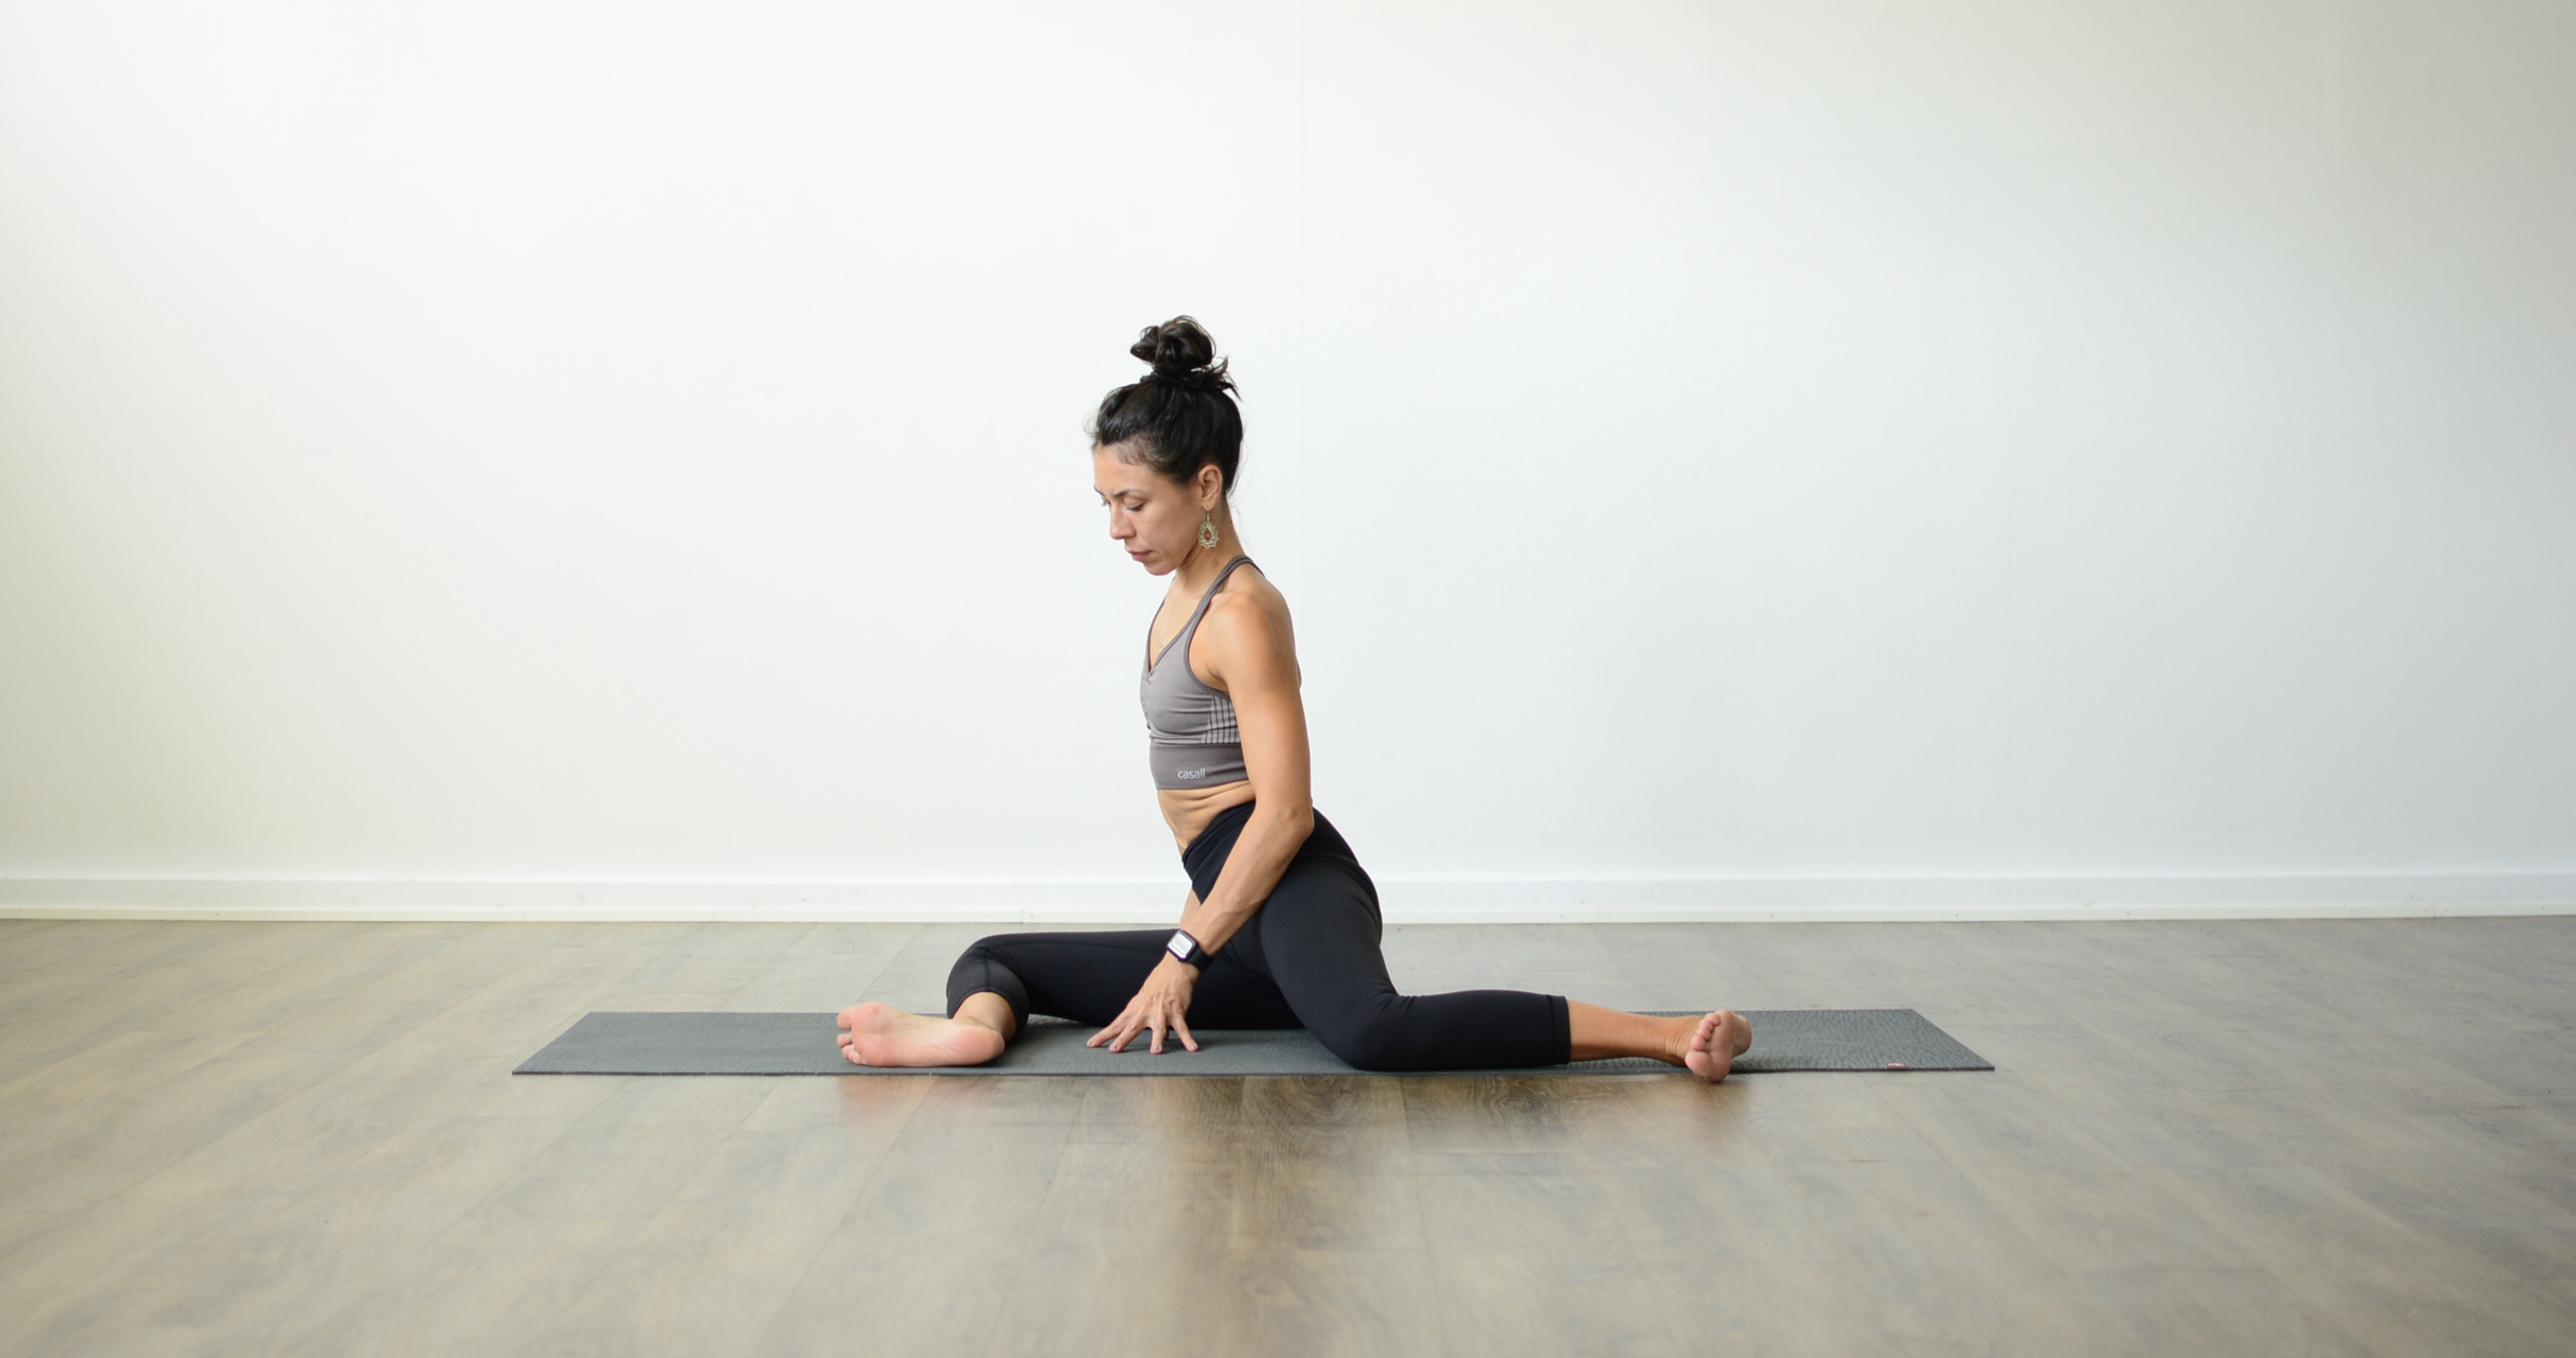
The 8 Limbs Of Yoga - Asana Explained in Depth


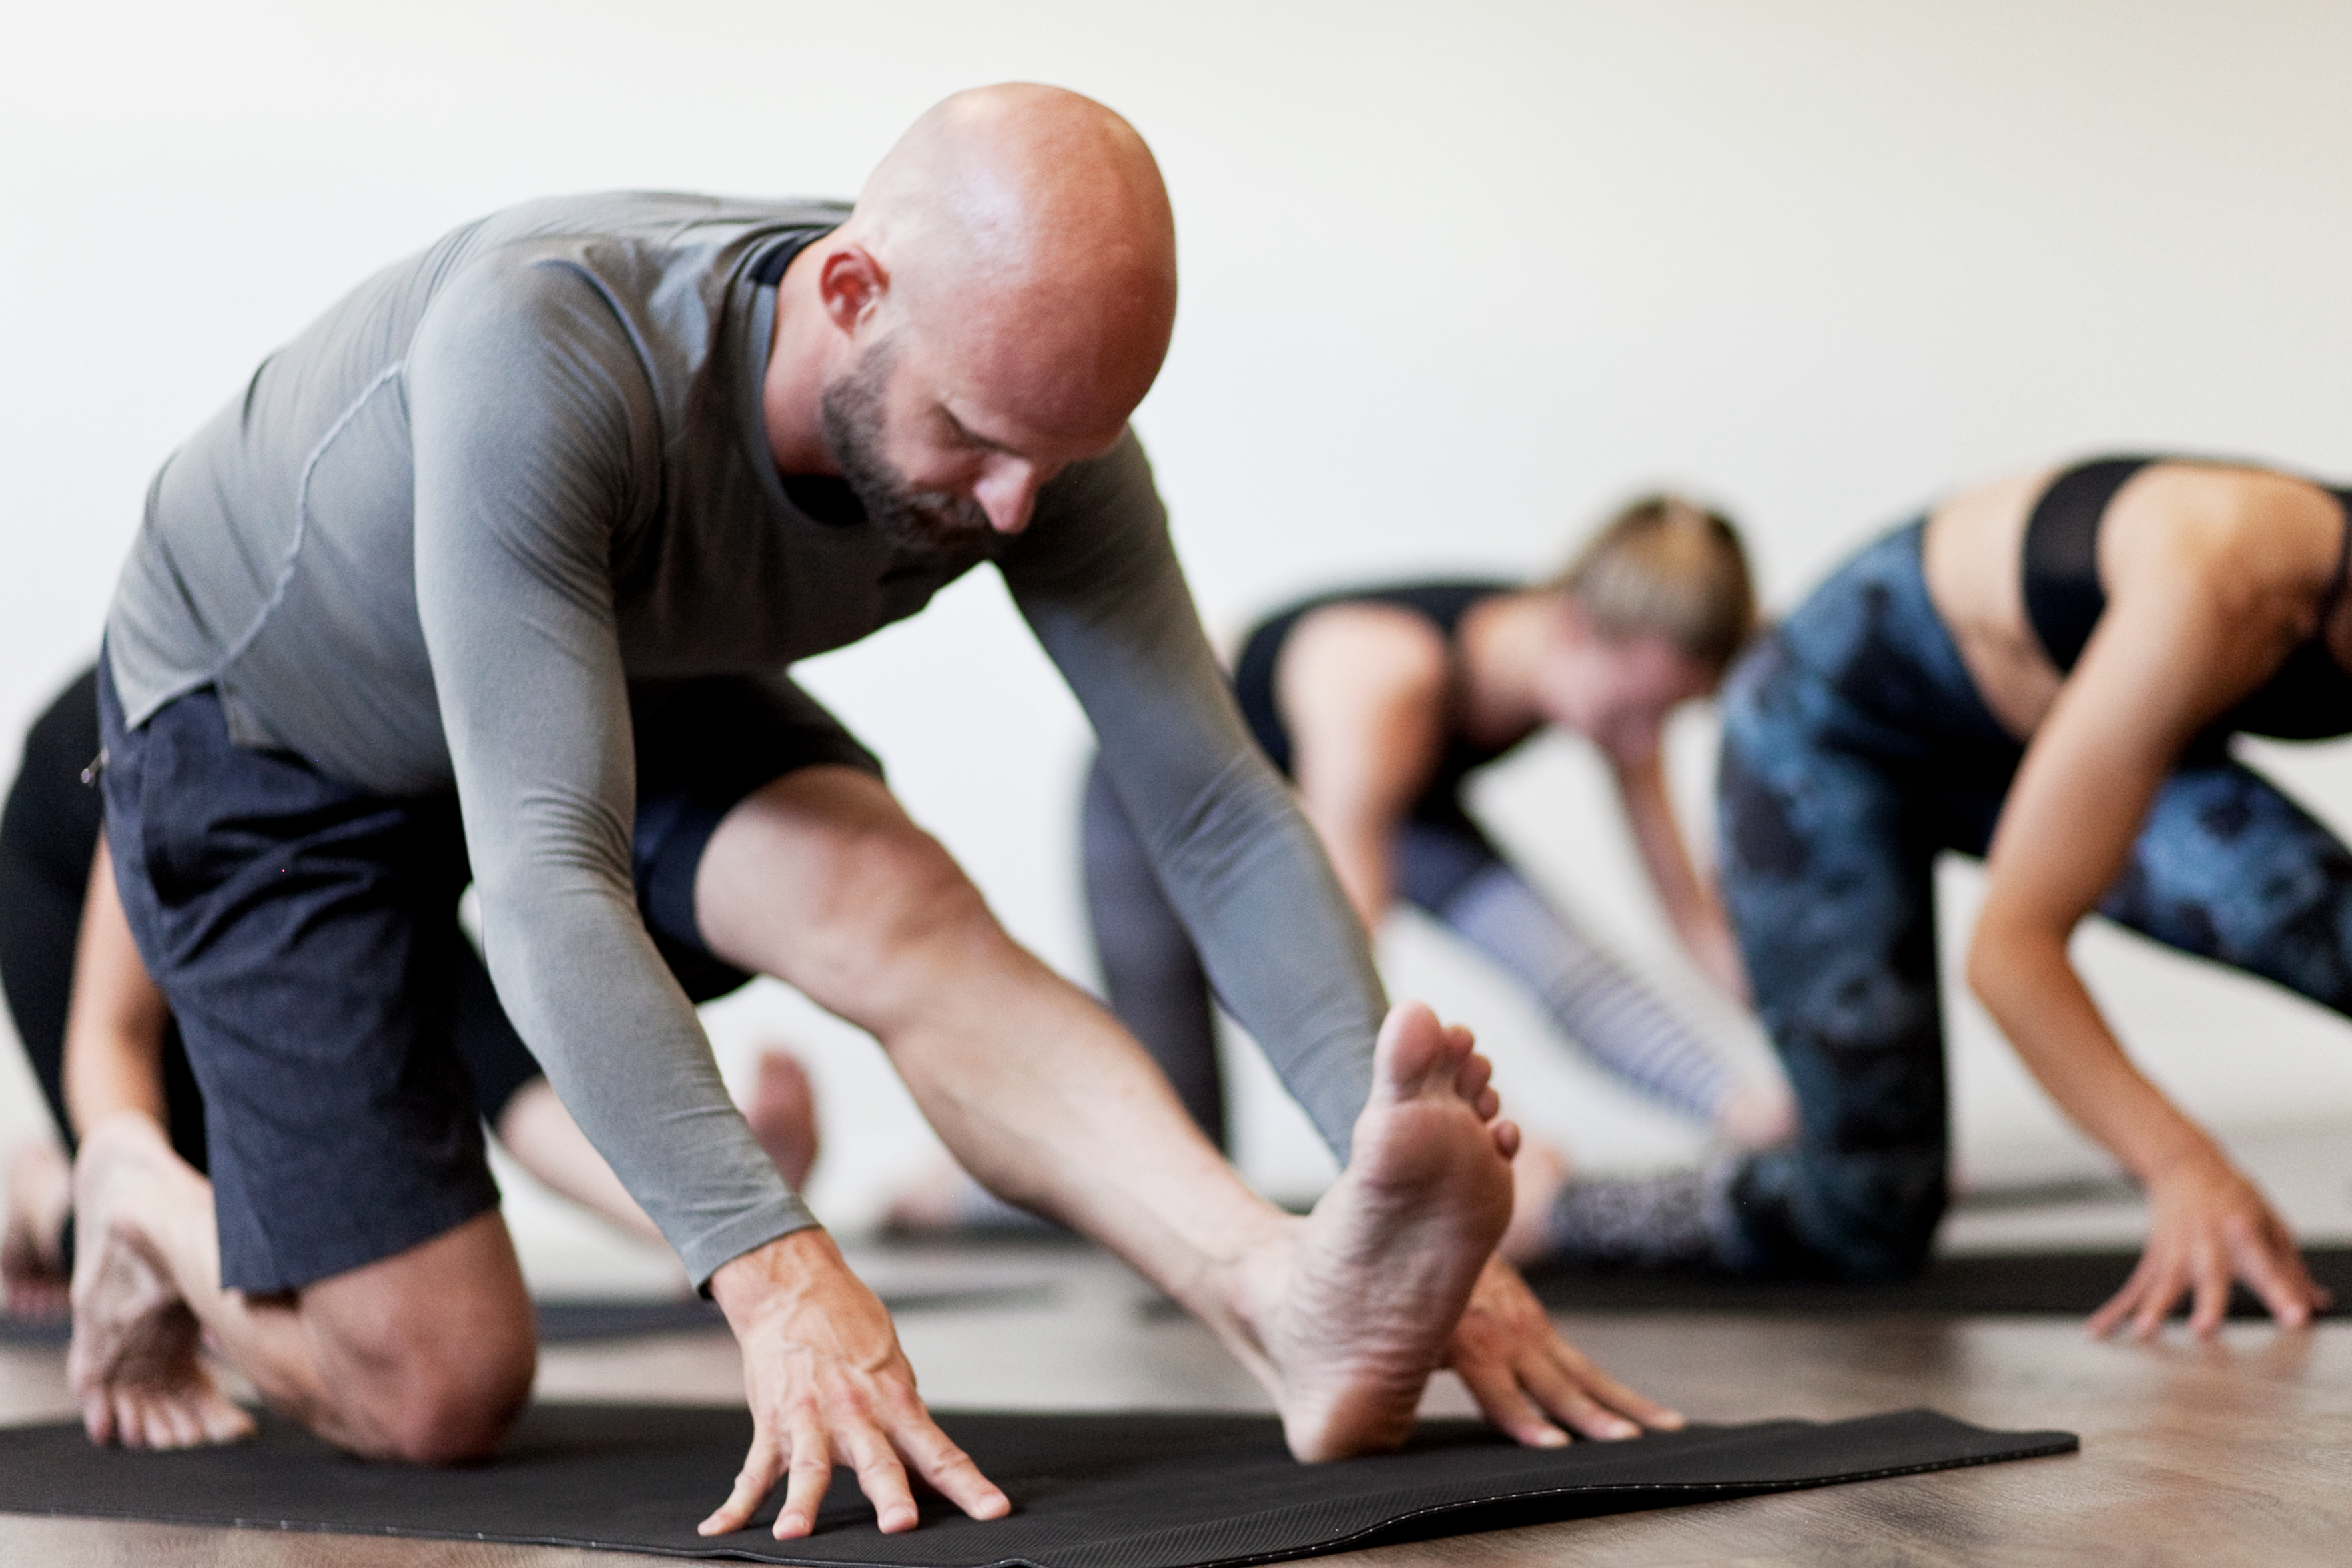
Asana practice gives incredible training sessions, which are way past our regular workouts. One notable thing about asana practice is that it has positive effects on the mind, soul, and body. Yoga is not all about practicing the challenging poses. When you add yogic-breathing to your movements, you will realize that yoga becomes very beautiful and meditative.
When practiced regularly and with consistency, yoga can uplift you both mentally and physically. Besides, practicing yoga regularly can help you to achieve countless health benefits. Ultimately, you will understand that yoga is a beautiful mix of effort and grace.
If you are a beginner in practicing yoga, you must learn some postures (asanas) as they can help you to be comfortable in a yoga class or when doing your yoga practice. While it might not be easy to learn every posture at the beginning, learning the basic yoga asanas can go a long way in getting you started with your yoga practice.
However…
We need to understand what asana is. Among the 8 limbs of yoga, asana is the third. According to Patanjali’s Yoga Sutras, an asana is a steady and comfortable yoga posture. The yoga sutras of Patanjali do not identify any specific pose. However, they require yogis to seek a steady and comfortable posture whenever practicing asanas.
Also, asana is defined as physically practicing yoga poses. Furthermore, asana is usually used to describe a single yoga pose, like, a yogi can say, “I don’t like practicing handstand, because it’s a challenging asana for me.”
Why Practice Asanas?
Asanas help in improving balance, flexibility, and strength. In addition, using focus and breathe as you practice the asanas can assist in relieving anxiety and stress. Asanas should not always be physical exercises, but you should also use them holistically, like a body-mind practice to boost your mental, physical, and spiritual health.
Research conducted by the University of Illinois revealed that…
Practicing asanas for 20 minutes every day can improve your brain function and keep you focused.
However, this mostly depends on the type of asana you practice.
For instance…
Backbends are energizing whereas forward bends can give you a calming effect. Balancing asanas help in concentration while standing asanas improve stamina. Body twists can assist in detoxifying your body and relief tension.
Now, let’s look at 10 basic asanas.
Tadasana – Mountain Pose
This is considered to be the “mother” of all yoga asanas. Most of the standing yoga poses are derived from Tadasana. “Tada,” means mountain, and that’s where the name “mountain pose” comes from. Tadasana teaches yogis how to stand as steady as a mountain. This yoga asana improves concentration and focus, and it encompasses the major muscle groups in your body.
The mountain pose helps in correcting your posture. In addition, it strengthens your legs, and it tones your stomach and hips, and it increases the spines agility.
How to do the mountain pose:
- Start by standing with your feet marginally apart and let your arms hang behind your torso.
- Slowly, lift and extend your toes, and then place them on the floor softly. Ensure that you balance the weight of your body on your feet as you do this.
- Next, lift your ankles, and tighten the muscles of your thighs as you rotate them inwards.
- Stretch your torso as you breathe in, and as you breathe out, ensure that you pull your shoulder blades downward, away from your head.
- Stretch your collarbone as you lengthen your neck.
- At this stage, ensure that your shoulders, ears, ankles, and hips are in one line. Now, you can choose to raise and stretch your arms.
- Breathe easily.
Vrikshasana – Tree Pose
This pose imitates the steady position of a tree, and it is a very great pose for balancing. It makes your legs and back stronger and boosts your balance. In addition, it helps in neuromuscular coordination.
How to do Vriskhasana
- Lift your right leg. Place it on your inner left thigh. Ensure that the sole of the foot is flat and that you have placed it firmly on the thigh of your left foot.
- Your left leg should remain straight and then start balancing. · As you breathe in, lift your hand over your head and then join your palms.
- Keep your spine straight and then breathe deeply for a few times.
- Now, breathe out slowly as you release the right leg and bring your arms down. · Once you are back on your two feet, repeat the same sequence with the left leg.
- Lift your right leg. Place it on your inner left thigh. Ensure that the sole of the foot is flat and that you have placed it firmly on the thigh of your left foot.
- Your left leg should remain straight and then start balancing.
- As you breathe in, lift your hand over your head and then join your palms.
- Keep your spine straight and then breathe deeply for a few times.
- Now, breathe out slowly as you release the right leg and bring your arms down.
- Once you are back on your two feet, repeat the same sequence with the left leg.
Adho Mukho Svanasana – Downward Facing Dog
This is a very excellent yoga asana for your spine. This yoga pose stretches your chest and hamstrings and lengthens your spine. As a result, your blood flow to the head is improved. Improved blood circulation means improved digestion.
Additionally, this pose removes any tension and stress trapped in your spine and strengthens your legs and arms. This removes almost every burden you experience in your back. Practicing this asana will always leave you feeling rejuvenated and energized.
How to practice downward dog facing pose
- First, you need to be on your fours. Next, walk your hands a handprint forward and lift your knees from the floor, then send your hips back until you find a long line from your hands to your hips. Your heels can remain in the air.
- Now, push your hands on the floor and lengthen the spine in order to create a shape of inverted ‘V' using your body.
- In this stage, your head should be in a lower position and your hips a bit higher than your heart.
- Allow your head to hang while you hold the pose for 5 long deep breaths.
- Release
Bhujangasana – Cobra Pose
The cobra pose has many advantages. First, it strengthens the muscles in your lower back while cushioning your triceps and the spine. In addition, it opens your chest, which in turn, promotes inhalations. Bhujangasana also stimulates your reproductive, urinary, and digestive systems, improving their functionality. Practicing this asana also helps in regulating your metabolism, and making your spine flexible.
How to do Bhujangasana
- Lie on your belly, feet are together or hip-width distance apart and toes are flat.
- Now, place your hands just below your shoulders. Next, begin to raise your head and lift your chest as you breathe in.
- Pull your upper body forward with the assistance of your hands. Elbows close to the body.
- Now, forward or up, and make sure the shoulders are pulled away or downwards from your ears.
- Breathe out as you come out of this pose.
Balasana – Child’s Pose
This relaxing pose assists you to surrender. It assists in relaxing your back and calming your mind and restores your energy mentally, emotionally, and physically. Balasana also flexes and massages your internal organs, thus stimulating them. Furthermore, it releases confined stress in your muscles, thus improving blood circulation.
Balasana is very beneficial, particularly to beginners. Whenever you feel fatigued or dizzy as you practice yoga, coming into balasana can help you to relax.
How to practice the child's pose
- Start by bending your knees and then sitting on your heels. Let your hips rest on your heels.
- Now, bring down your forehead to touch the mat and bring your arms forward on the side.
- Push your thighs against the chest.
- Breathe lightly.
Setu Bandhasana – Bridge Pose
Bridge pose helps in strengthening your back. People suffering from certain conditions like, insomnia, and anxiety can significantly benefit from the bridge pose. Also, practicing the bridge pose can help in relaxing your body and calming your mind.
How to do Setu Bandhasana:
- Start by lying flat on your back
- Now, bend both of your legs at the knees
- Press your feet on the floor and lift your back and hips from the floor and be gentle as you do this
- Next, interlace your fingers, and stretch your arms towards your feet while they are resting on the floor.
- Breathe deeply for a few moments and then releases the pose.
Baddha Konasana – Bound Angle Pose, Butterfly Pose
This asana is great for stretching and opening your inner thighs. Regular practice of this asana relieves sciatica. Moreover, this yoga pose calms your mind and improves blood circulation. It is considered to be a boundless hip opener.
How to do Baddha konasana:
- While sitting on a mat, stretch out your legs
- Bend your knees and join your feet together at the center
- Make your back straight, feel free to sit on a pillow or a block to lift the pelvis higher.
- Use your palms to hold your feet
- Next, push your knees towards the ground until you feel that you cannot do it anymore.
- Hold the pose for some seconds and then release it.
Paschimottanasana
This yoga pose is very beneficial as it improves the flexibility of your hips and hamstrings. It also elongates your spine.
How to practice Paschimottanasana:
- Sit down, and ensure that your back is straight and your toes are pointing upwards
- Inhale, and lift your arms over your head as you stretch
- Now, as you exhale, bring your arms down, so that they can touch your legs
- Put the hands anywhere they can reach, touch your toes if you are able, but do not force yourself
- Inhale, find length and stretch your spine
- Now, as you exhale, ensure that you keep your belly button near your knees
Trikonasana – Triangle Pose
The triangle stretches your torso and legs, boost deep breathing, and mobilizes your hips. This leaves you with revitalizing effects.
How to do the triangle pose
- Begin by standing while your feet are apart
- Now, stretch out the right foot—90 degrees, and ensure that you keep the leg near the torso
- Ensure that your feet are pressed on the ground, and use your feet to find the balance for your weight
- Breathe in, and when you breathe out, fold your right hand and touch the ground with it as you lift your left arm, and makes sure that your waist is straight.
- During this stage, your body should be bend sideways, not backward or forward.
- As you take long and deep breaths, stretch your body as much as possible.
- Release the posture and repeat the pose on the other side
Utkatasana – Chair Pose
Utkatasana or Kursiasana that it is called in some traditions is an extremely powerful pose. It makes the muscles in your arms and legs stronger. Also, it helps in developing your willpower, and it has a refreshing effect on your body and mind.
How to do the chair pose:
- Start by standing straight, and make sure that your feet are slightly apart
- Stretch your hands, but do not bend the elbows
- Breathe in, and now bend the knees as you push the pelvis down, to assume the sitting position on a chair
- Make sure that you straighten your back, and your arms are straight, parallel to the ground
- Now, start to breathe deeply
- Bend slowly, but don’t allow your knees to go past your toes
If you want to learn about more about these and other asanas, visit Yogateket and sign up for free two weeks trial for online yoga classes, yoga challenges, and programs