Utkatasana and Variations


Many variations and names on Utkatasana
here are the most common
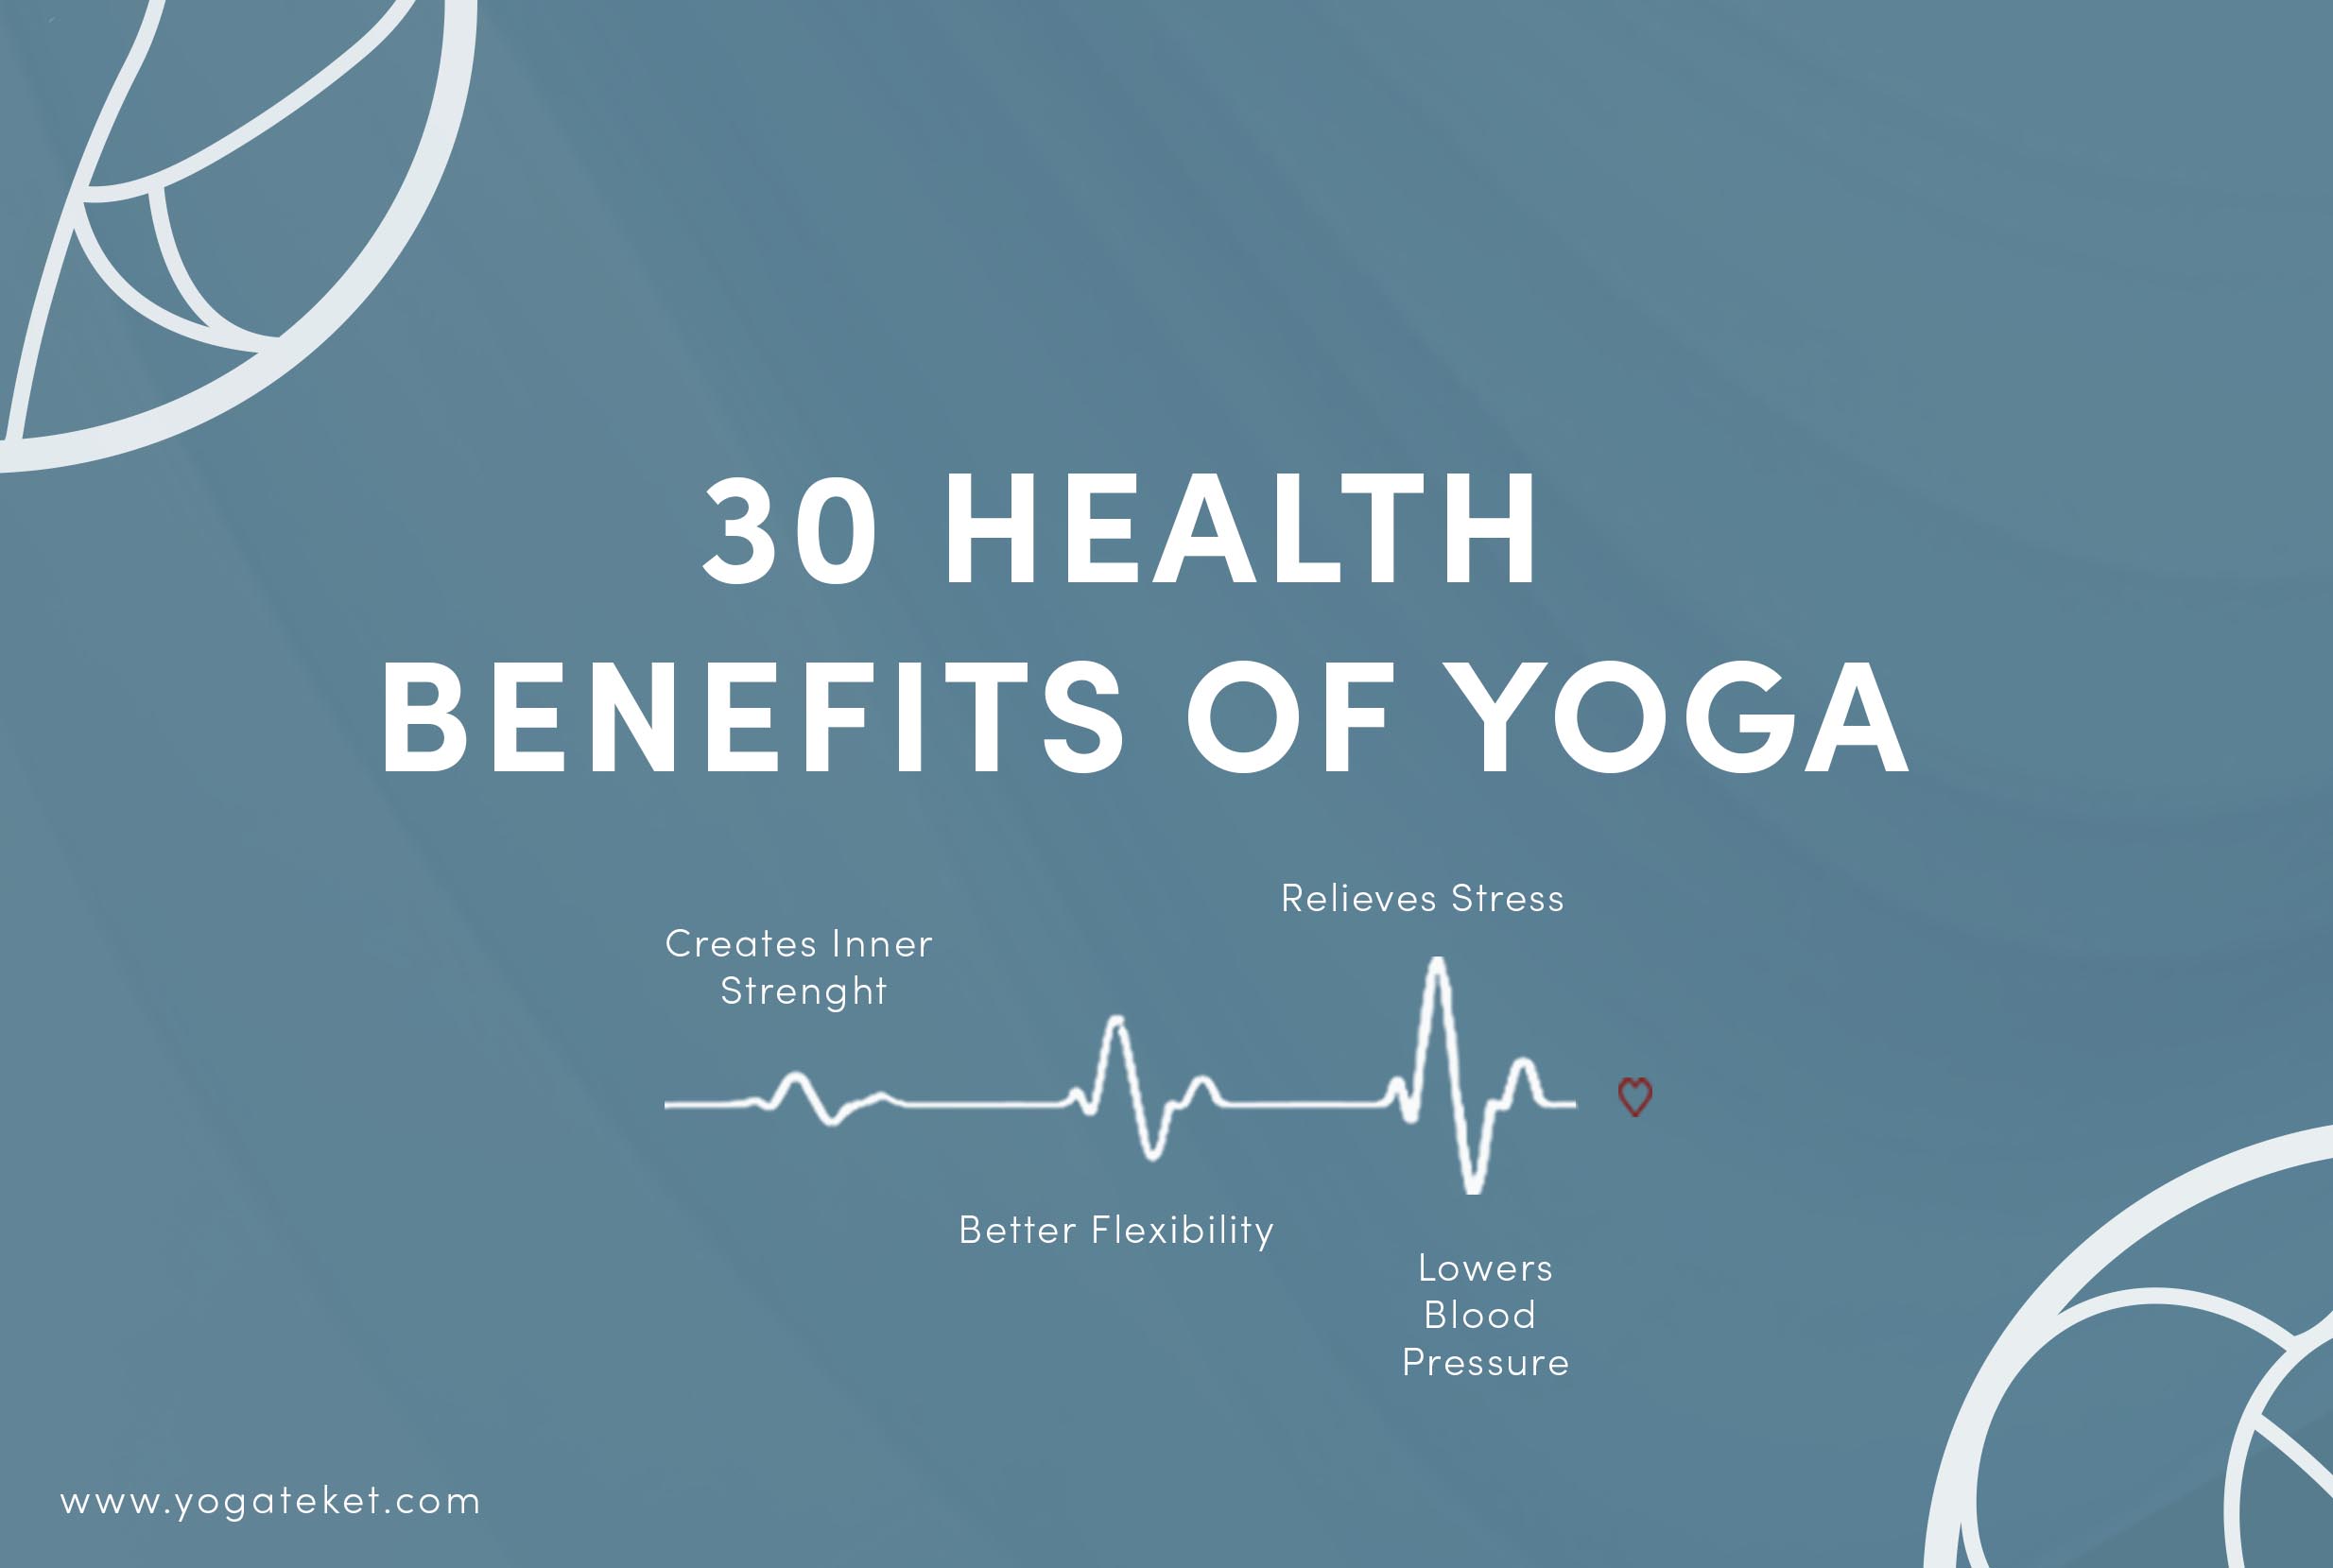
Utkatasana is a standing yoga asana name, which needs stability, strength, and balance. Here, you are required to extend your arms upward alongside your ears, while you bend your knees as if you are sitting on a fictional chair. Utkatasana has numerous medical benefits, and it promotes focus, inner power, and acceptance.
Its name originates from utkata, a Sanskrit that means ‘powerful’ or ‘intense’ and asana, which means ‘posture’. Utkatasana has a common English name, known as ‘the chair pose’. Also, it is known as the powerful pose, fierce pose, or awkward pose in Bikram yoga.
Utkatasana - (Powerful pose)
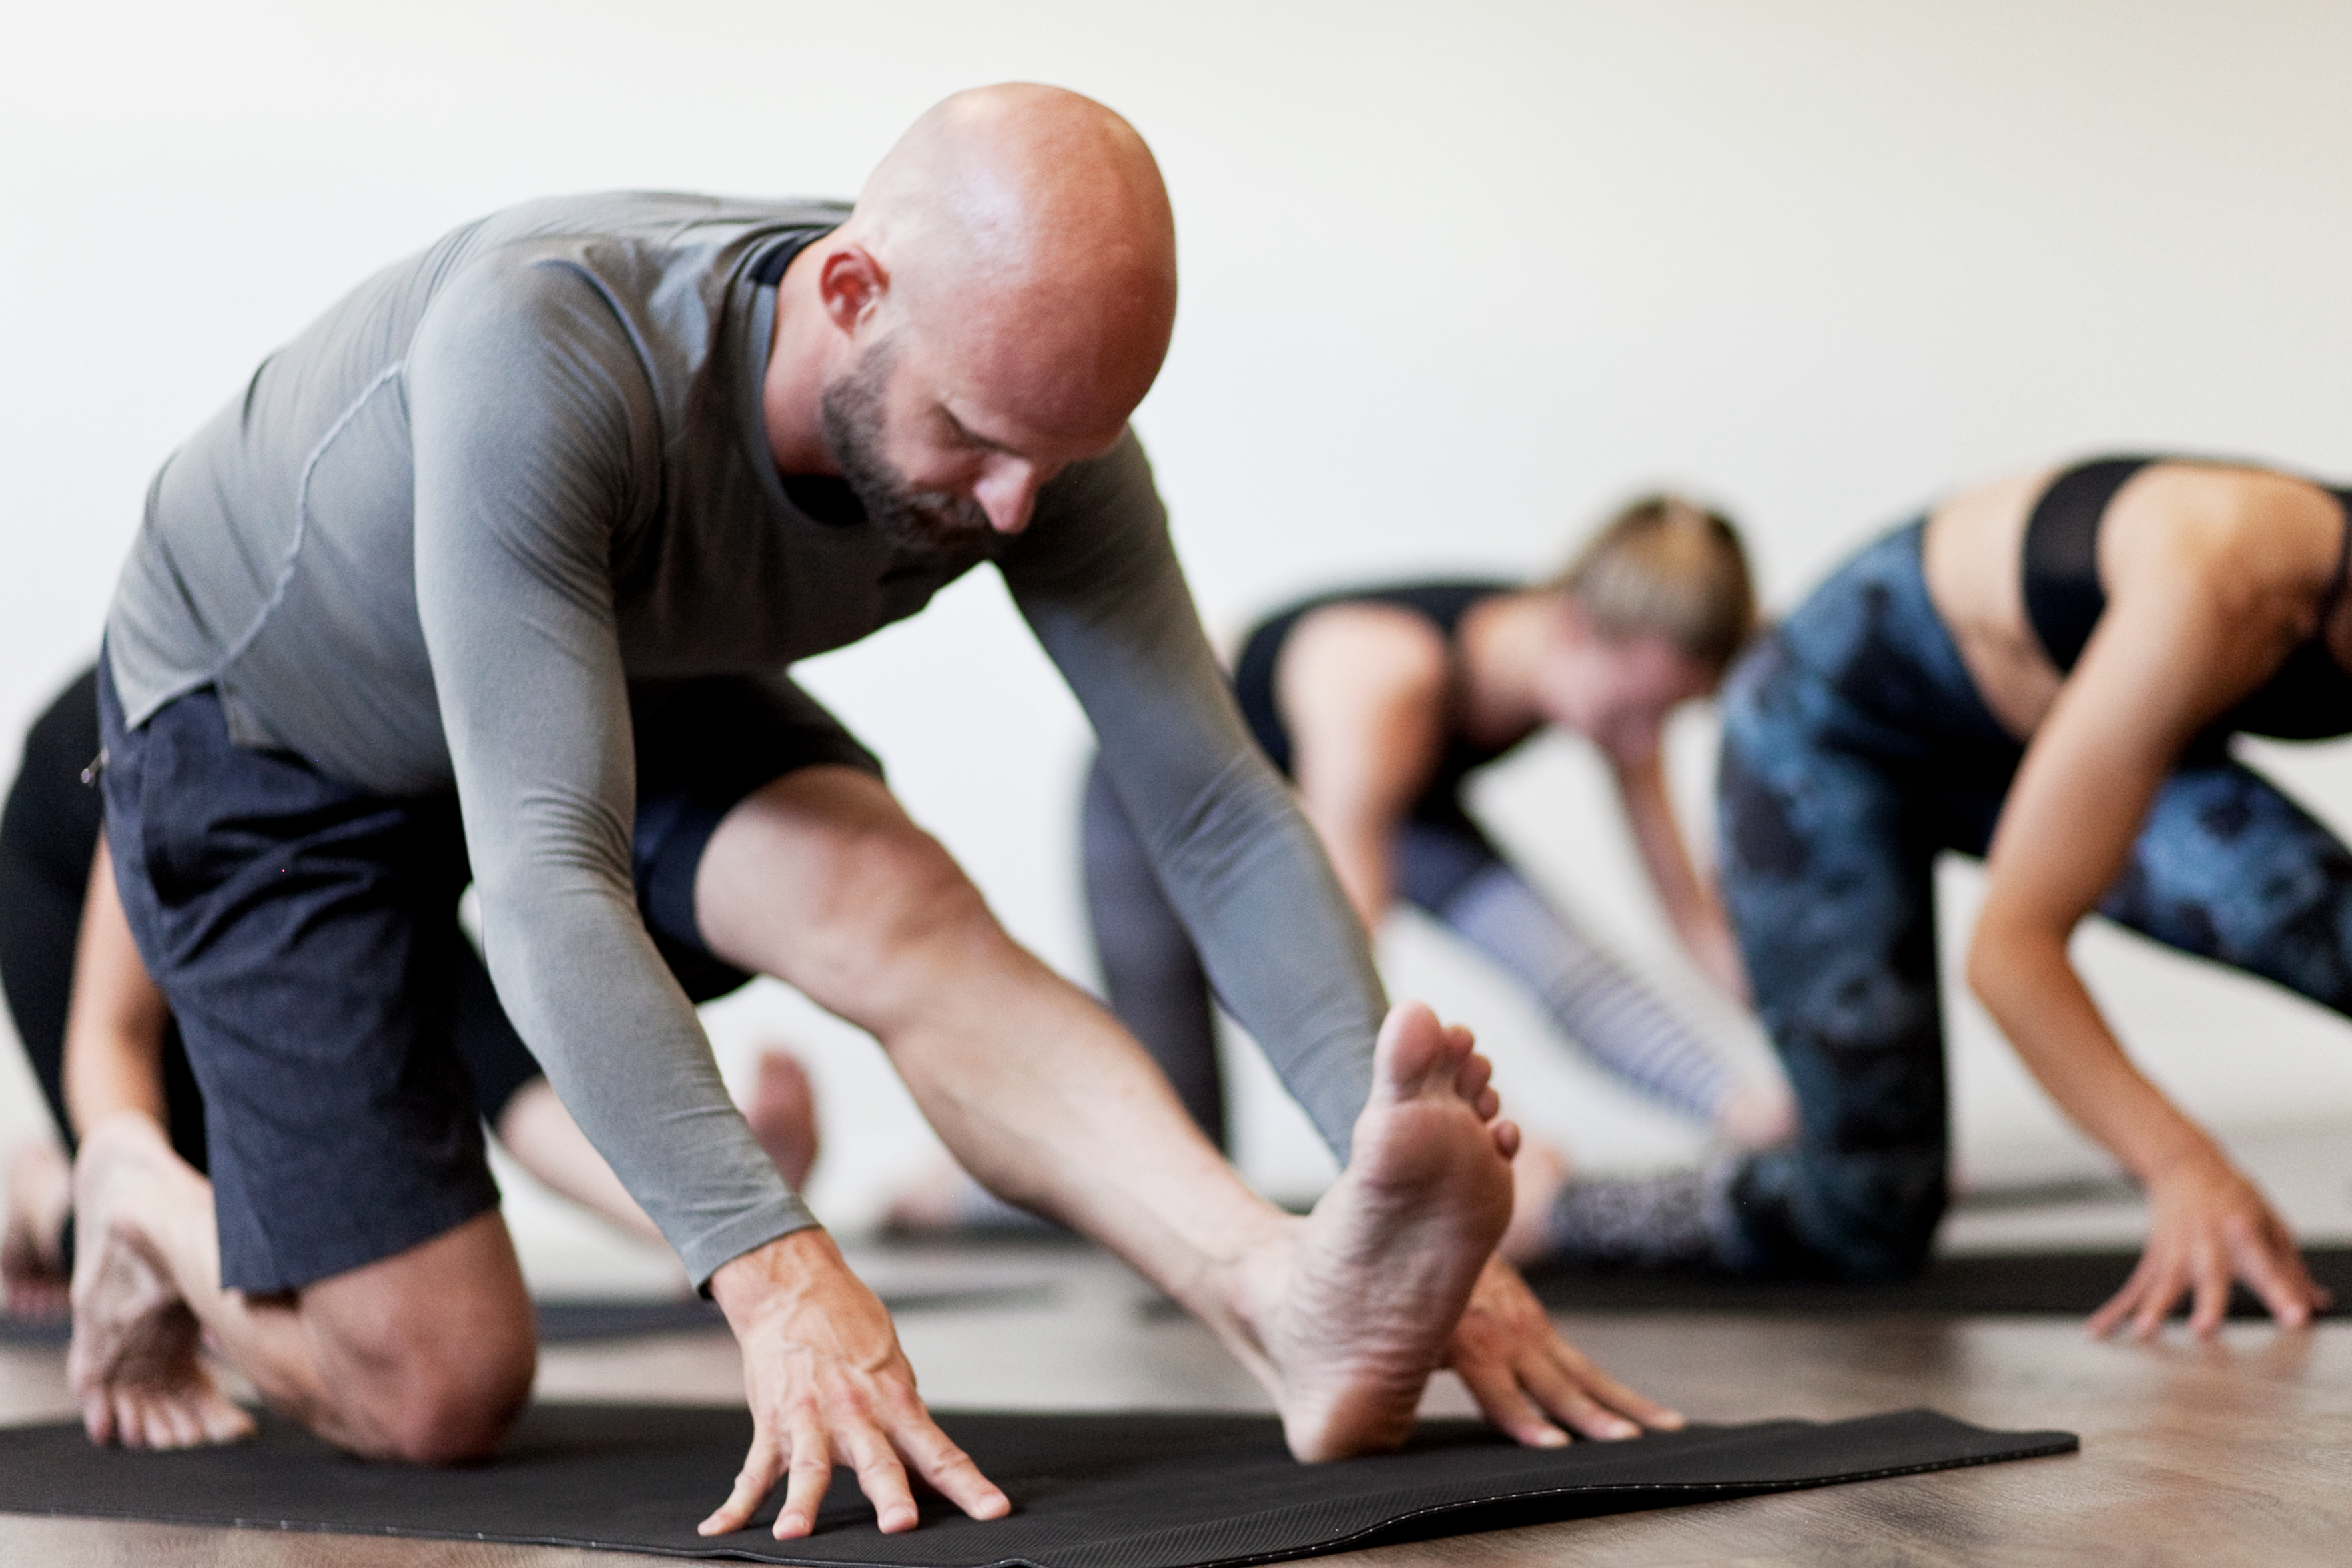
This yoga pose is considered to be easy since it doesn’t have any twists as well as bindings. Even though practicing the pose can be hard for your knees when beginning, regular practicing on the alignment can reduce the pressure on your knees. The following are some of the benefits of attending yoga classes or using online yoga classes at Yogateket to practice Utkatasana.
It helps in strengthening your hips – while practicing this pose, the position of your hips is well placed, thus bearing the weight of your entire upper body. Practicing the pose regularly can help in strengthening the muscles around your hips, and this makes your hips to have a strong look.
The pose assists you to deep stretch your body – utkatasana literally stretches your upper body, chest, shoulders, neck, spine, as well as the upper and middle back. In addition, the pose also strengthens your lower body.
You get the chance to tone and strengthen your knees and ankles – as you bend your upper body at your hip area, the pose shifts some weight to your lower body, and this gives the ankle and knee joint the needed pressure. The pressure that results from this pose gradually improves your joints, thus giving them a toned appearance.
You stretch your legs, thus making them strong – whole practicing utkatasana, you normally bend your knees, which in turn adds some pressure on your thighs, particularly at your hamstring muscles and quadriceps, and also the calves, which gradually strengthens your entire legs.
It massages your abdominal muscles – this pose greatly assists your primary muscles as it tightens your abdominal muscles while you are practicing the pose.
Everyone who practices yoga has different abilities. A particular yoga pose can be easy for one student and challenging for another student. However, yoga pose variations can assist you to grow and boost your confidence in practicing yoga, regardless of your level. The following are some of the different variations of utkatasana. Each of these variations has several benefits to your body.

Utkatasana hands bound position
The standing-wall squat variation
This pose requires props to make it easier and accessible for yoga students who do not have the required flexibility, strength and balance to practice the variation without props. The standing-wall squat variation benefits the knee muscles, and therefore it can be added in yoga sequences that have the corresponding muscles.
This utkatasana variation is mostly found in different types of yoga sequences, including:
Restorative sequences
Prenatal sequences and
Yoga therapy sequence for the knees
Steps
Start by standing close to a wall
Your feet should be around feet from the wall, and then put your palms on the wall. Ensure that your lower back is in contact with the wall.
Now, breathe in slowly as you start going down, rubbing your back against the wall until you reach a standing wall squat position. Your knees should be bend at this position.
Hold that position for one breath, breathe in and stand up. Repeat this position three times.
Breathe in, and go down. Breathe out while in the squatting position. Breathe in and out while holding this position. Breathe In, and come up, breathe out and relax.
Chair Pose Variation Eagle Arms
This utkatasana variation assists in the opening, activating, and balancing the following chakra/chakras:
Root chakra
Sacral Chakra
The chair pose variation eagle arms have numerous benefits to the body muscles, thus it can be incorporated into different yoga sequences that focus on the corresponding muscles. Some of the muscles that benefit from this variation include:
Shoulders and arms
Knees
Lower back
This utkatasana variation is common in the following types of yoga sequences:
Yoga sequence for the teenagers and young people
Mild yoga sequences
Sequences to help in relieving pain in the lower back
Yoga sequences for knee therapy
Sequences for shoulders and arms
Steps
Start by standing straight, with your legs together and hands by your side
Now, push-out your feet to hip-width, and ensure that your heels are a bit wider than your big toes. Breathe in, and raise your hands straight and in front of you.
Breathe out and bend your knees. You should maintain even weight on your feet, and keep your spine flat. Do not allow your knees to bow out or in, but keep them in line with your hips and ankles.
Now, bend down as much as you can, until your thighs are in a parallel position to the floor. Hold the position for 10 counts and then stand up.
Stand up high on your tiptoes, particularly the big and second toes. Breathe in, and stretch your spine upward.
Breathe out, bend your knees forward as you lift your heels. Ensure that your spine remains upright. Do not allow your knees to bend in or out, and make sure that they are in line with your hips and ankles.
Go down as much as you can, to the point where your thighs are in a parallel position with the floor. Lift your heels up, and then push forward the top of your feet. Now, hold the position for 10 counts and then stand up.
Set your heels down, and push your thighs and knees together. Your heels might lift off the ground marginally. Breathe in, and stretch your spine upward.
Breathe out, and bend your knees slowly, as you sit your hips on your heels. Continue pressing your knees together.
Now, your thighs should be in a parallel position to the floor and your spine upright. Your knees should remain pressed together and hold the position for 10 counts.
While pressing your knees together, stand-up slowly. (You can choose to bring your arms to the ground, and then lift-up your hips in order to safeguard your knees.)
Finally, bring your feet together, and your arms down, and be still.
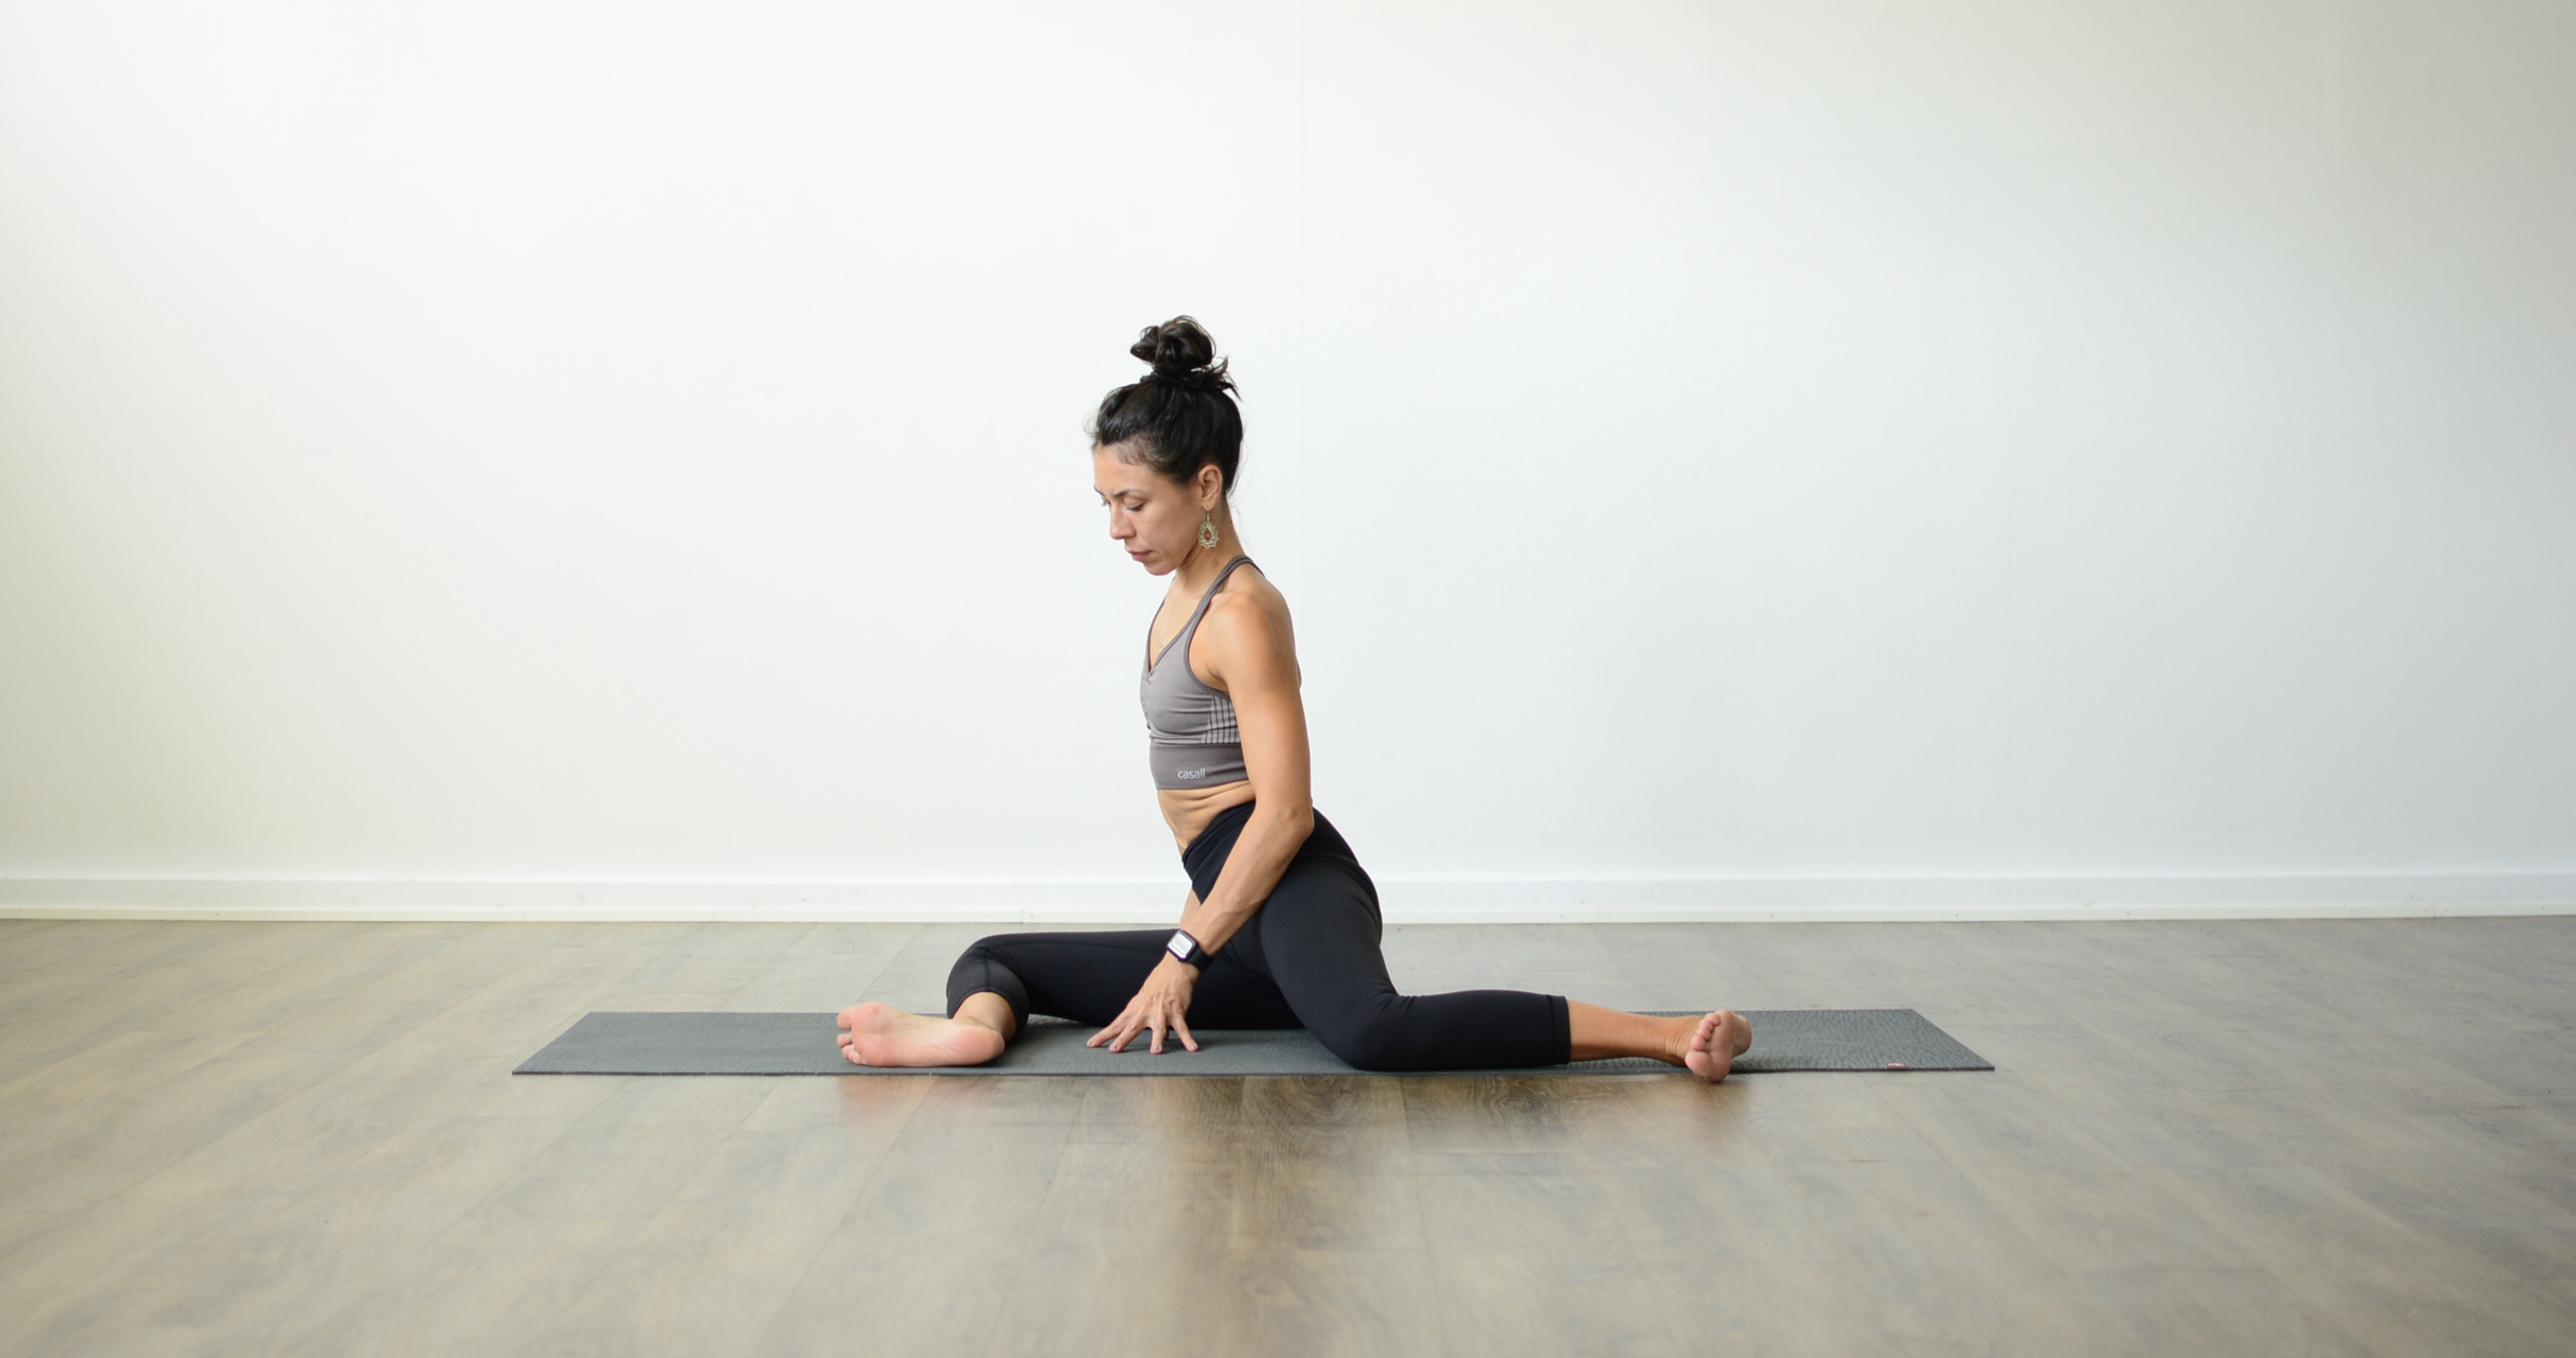
Revolved Chair Pose
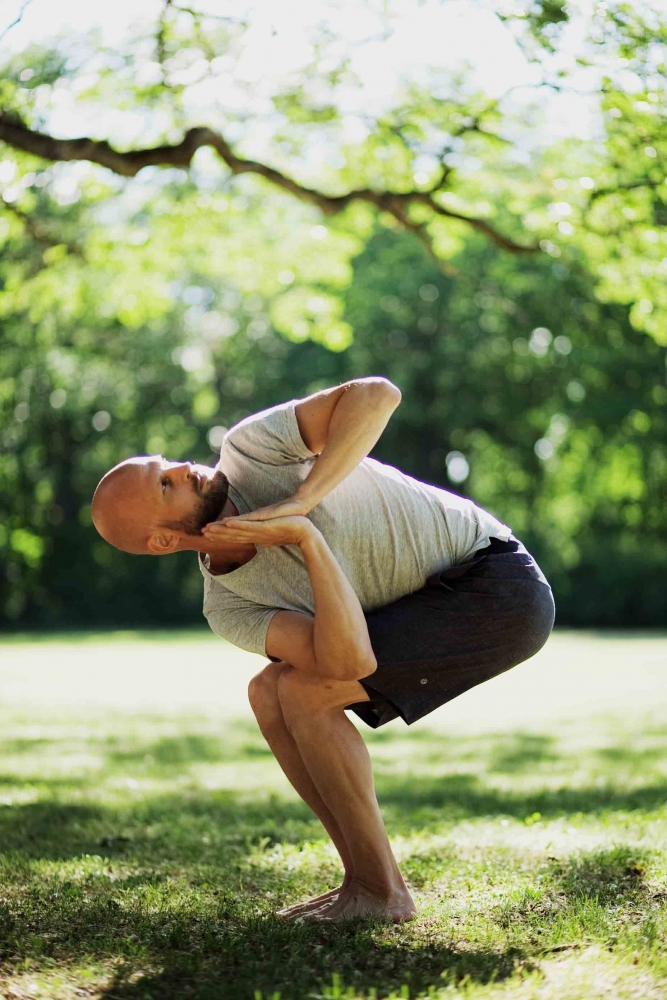
This variation is considered to be a base pose since some variations for revolved chair pose are usually derived from this pose. The pose assists in bossing energy in your body, and therefore, it can be added in flow yoga sequences. Revolved chair pose assists in the opening, activating, and balancing the following chakras:
Sacral Chakra
Solar plexus
Root chakra
This utkatasana variation has numerous benefits, and thus it can be incorporated in yoga sequences that focus on the following muscles:
Middle back
Lower back
Hamstrings
Biceps and triceps
Neck
Hips
Quadriceps
Psoas
This pose is very common in the following categories of yoga sequences:
Mild yoga sequences
Sequences for teenagers
Sequences that help in relieving pain in the lower back
Yoga sequences focused on the mid back
Sequences to help in developing biceps and triceps
Sequences that concentrate on hamstrings
Yoga sequences for hip opening
Sequences for quadriceps and psoas
Neck therapy sequences
Steps
Breathe in, and lift your hands overhead. Breathe out, bend your knees and lower your hips until your thighs are in a parallel position to the floor.
Now, place your right arm on your right thigh.
For a moment, move your knees to the left, and twist your torso to the right. Now, lower your right shoulder outer towards your right knee.
Now, bring back your knees to the center, and keep your head in line with your hips.
Press your palms together in front of your chest.
Rotate your top shoulder over your bottom shoulder, and look over the top of your shoulder. Hold this position and breathe.
To release the position, breathe out, and look down. Breathe in, lift your torso as you stand, and release your arms to the side.
Repeat the same sequence on the second side
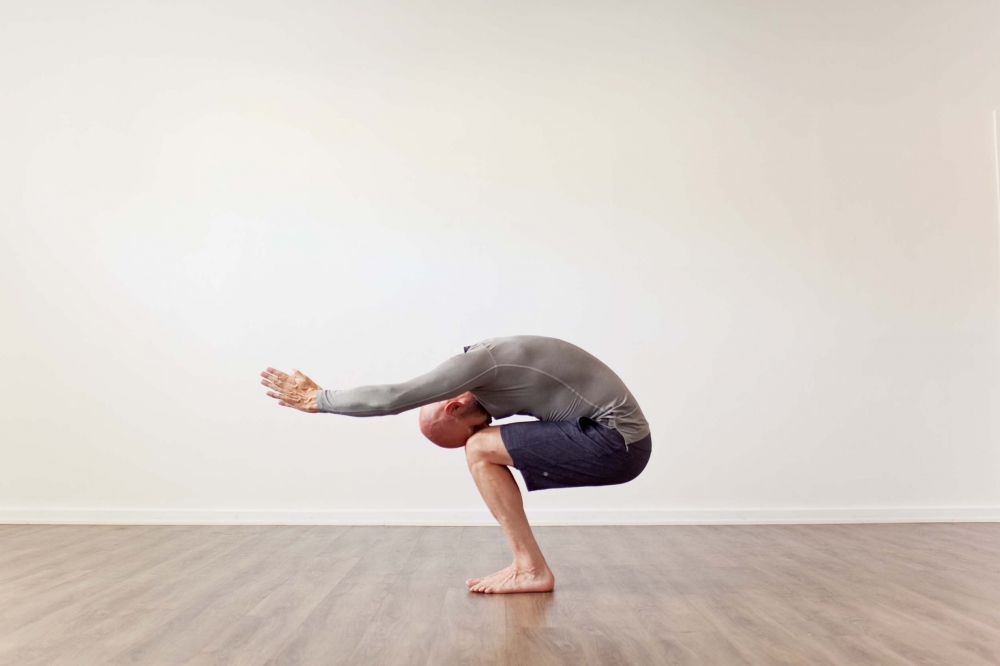
This pose requires a lot of strength in the yogi’s quadriceps muscles, as this helps in giving the hips the necessary support, and the knees the right comfort to hold on the pose. To practice the awkward pose comfortably, you need to work on the alignment of your hips together with the pelvic region and the hips.
This pose helps in boosting energy in your body, and thus it can be added into the sequences of flow yoga. The awkward pose assists in the opening, activating, and balancing the following chakras:
Throat chakra
Third eye chakra
Heart chakra
Root chakra
Sacral chakra
This pose has several benefits to different muscles in your body. Therefore, it can be added in yoga series that focuses on the following muscles:
Lower back
Arms and shoulders
Hips
Quadriceps
Knees
This utkatasana variation is common in the following yoga sequences:
Gentle yoga series
Yoga sequences in the Ashtanga Primary series
Kids yoga sequences
Yoga sequences designed for the quadriceps
Sequences for hip opening
Sequences for prenatal yoga
Arms and shoulders sequences
Yoga sequences for managing lower back pain
Bikrams Utkatasana / awkward pose

1st Part
Both your feet should be six inches apart, and ensure that your heels are obscure behind your toes. This position should resemble the letter “H”.
The gap between your heels and toes should be 6 inches. Ensure that you don’t change the position of your feet during the entire pose.
Lift your hands up and ensure that they are in a parallel position to the floor
Ensure that all your fingers stay together, close to each other
Your elbows should be locked, and your triceps should be in a tight, and nice contraction
Now, stretch your hands forward towards a mirror, as if you are trying to reach to the mirror
Breath out
Push your stomach in, and hold that position
Now, sit down, with your feet in a flat position. Make sure that your spine is in a straight position, your hips touch the chair, and your heels hold 100% of your body weight.
Next, lift your chest, and bend the entire spine, in a backward bending position, and bring the upper body to its original position.
Push your stomach in, compress your abdominal wall, and contract the abdominal muscles
Push it in, tighten it, and hold onto that position
Now, your rib cage should be visible
Push out your knees, and keep a gap of 6 inches between your heels, toes, hands, and knees.
Push both your chest and chin up
Now, lean backward, as if you want to fall down backwards
Breath in and come up and keep your hands in the same position

2nd part
This part starts with concentration and meditation
Next stand on your toes, as if you are dancing ballet
Now, concentrate fully, and focus on one point of the mirror
Don’t blink your eyes as this might make you lose your balance. Now, stretch your chest, head, spine, and the entire upper body upwards towards the ceiling like the normal human pull. Imagine the feeling of someone pulling your hair towards the ceiling.
Now, sit down on your toes, and ensure that your spine is in a straight position
As you start to finish the entire posture, you should begin to feel that your head and hips are in contact with the wall
Now, sit down, until you feel your hips are touching the chair, and keep your chest up, knees up, the upper body leaning backwards, and the spine straight.
Stand a bit higher on your toes, with your knees up towards the ceiling
Your hips shouldn’t go down past the chair since you are sitting on the chair
Breathe in and come up, with your spine in a straight position, and keep your hands there.

Revolved chair and Bikrams awkward pose third part.
3rd part
Stand on your toes
Bring your knees close together
Breath out, and push your stomach in, while keeping your spine straight
Sit down, very slowly as you lean against the wall
Now, start to stretch your spine towards the ceiling, and ensure that the gap between your heels and hips is half-an-inch
At this point, you should be leaning against the wall, your head and hips should be in contact with the wall, and there shouldn’t be any gap
Now, ensure that your knees are together, and in a forward position towards the mirror. Your thighs should be in a parallel position to the floor, and the hands parallel to the thighs. The spine should be straight, in a 90-degree angle. Your body should resemble a box from the side.
Breathe in deeply, bring your knees together, keep your spine straight as you come up slowly
Keep your feet together, arms down on the side, relax and don’t move.
Where to Start
With one of our best online yoga programs, Ashtanga Fundamentals or Yoga for beginners